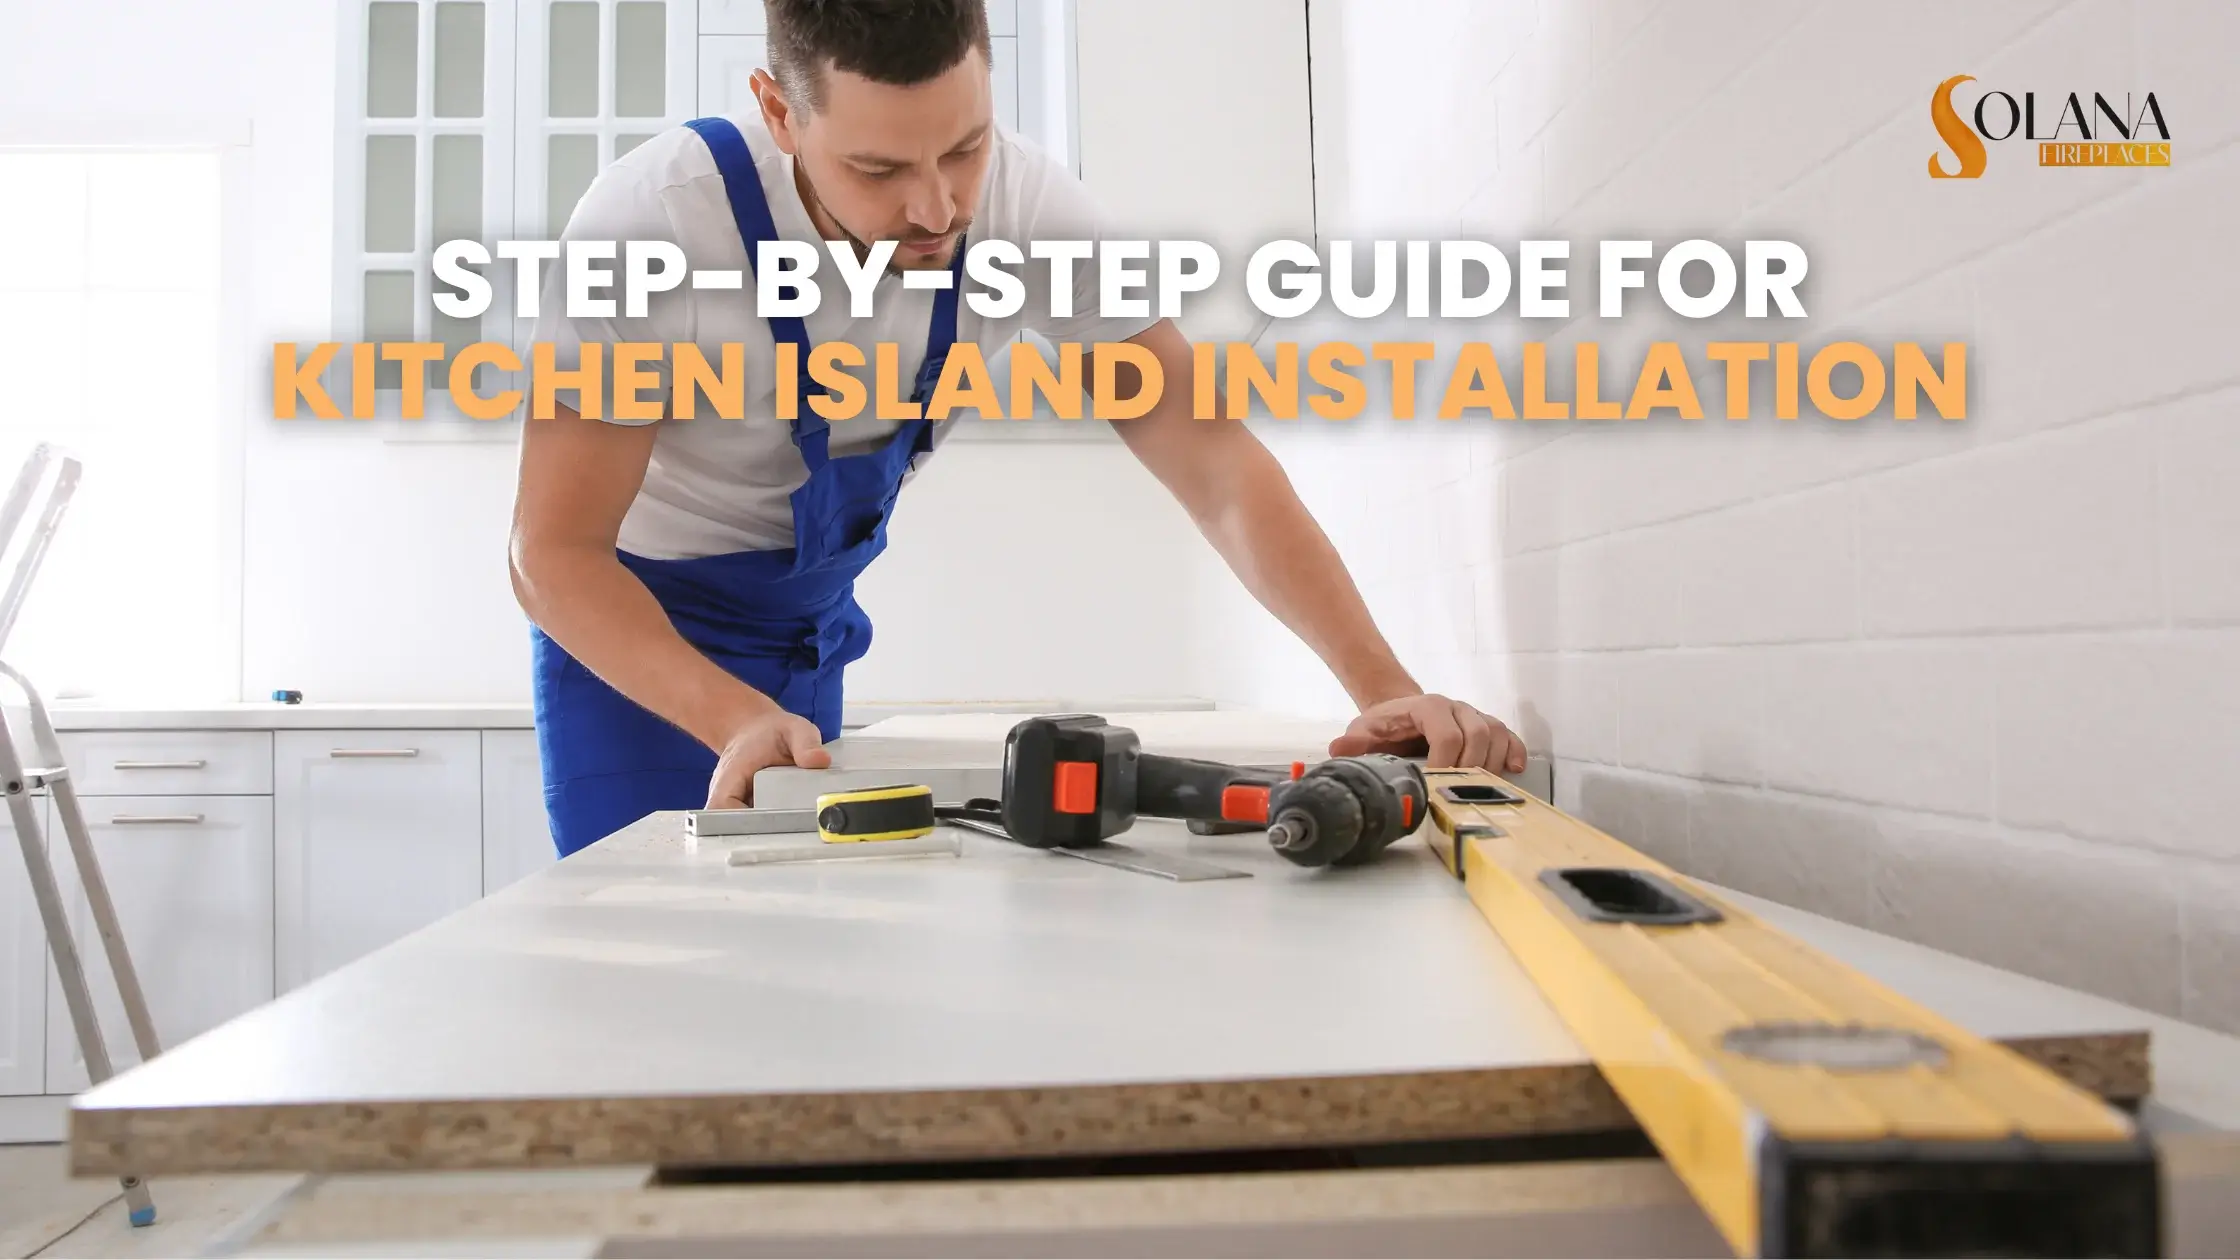
Step-by-Step Guide for Outdoor Kitchen Island Installation
An outdoor kitchen island installation is a fantastic way to enhance your backyard, providing a stylish and functional area for cooking, dining, and entertaining. If you opt for a DIY outdoor kitchen or hire professionals, thorough planning and careful execution are crucial for achieving a durable and efficient setup.
In this comprehensive guide, we’ll walk you through how to install an outdoor kitchen, covering essential aspects such as site preparation, plumbing for an outdoor kitchen, electrical setup for outdoor appliances, ventilation requirements, and weatherproofing.
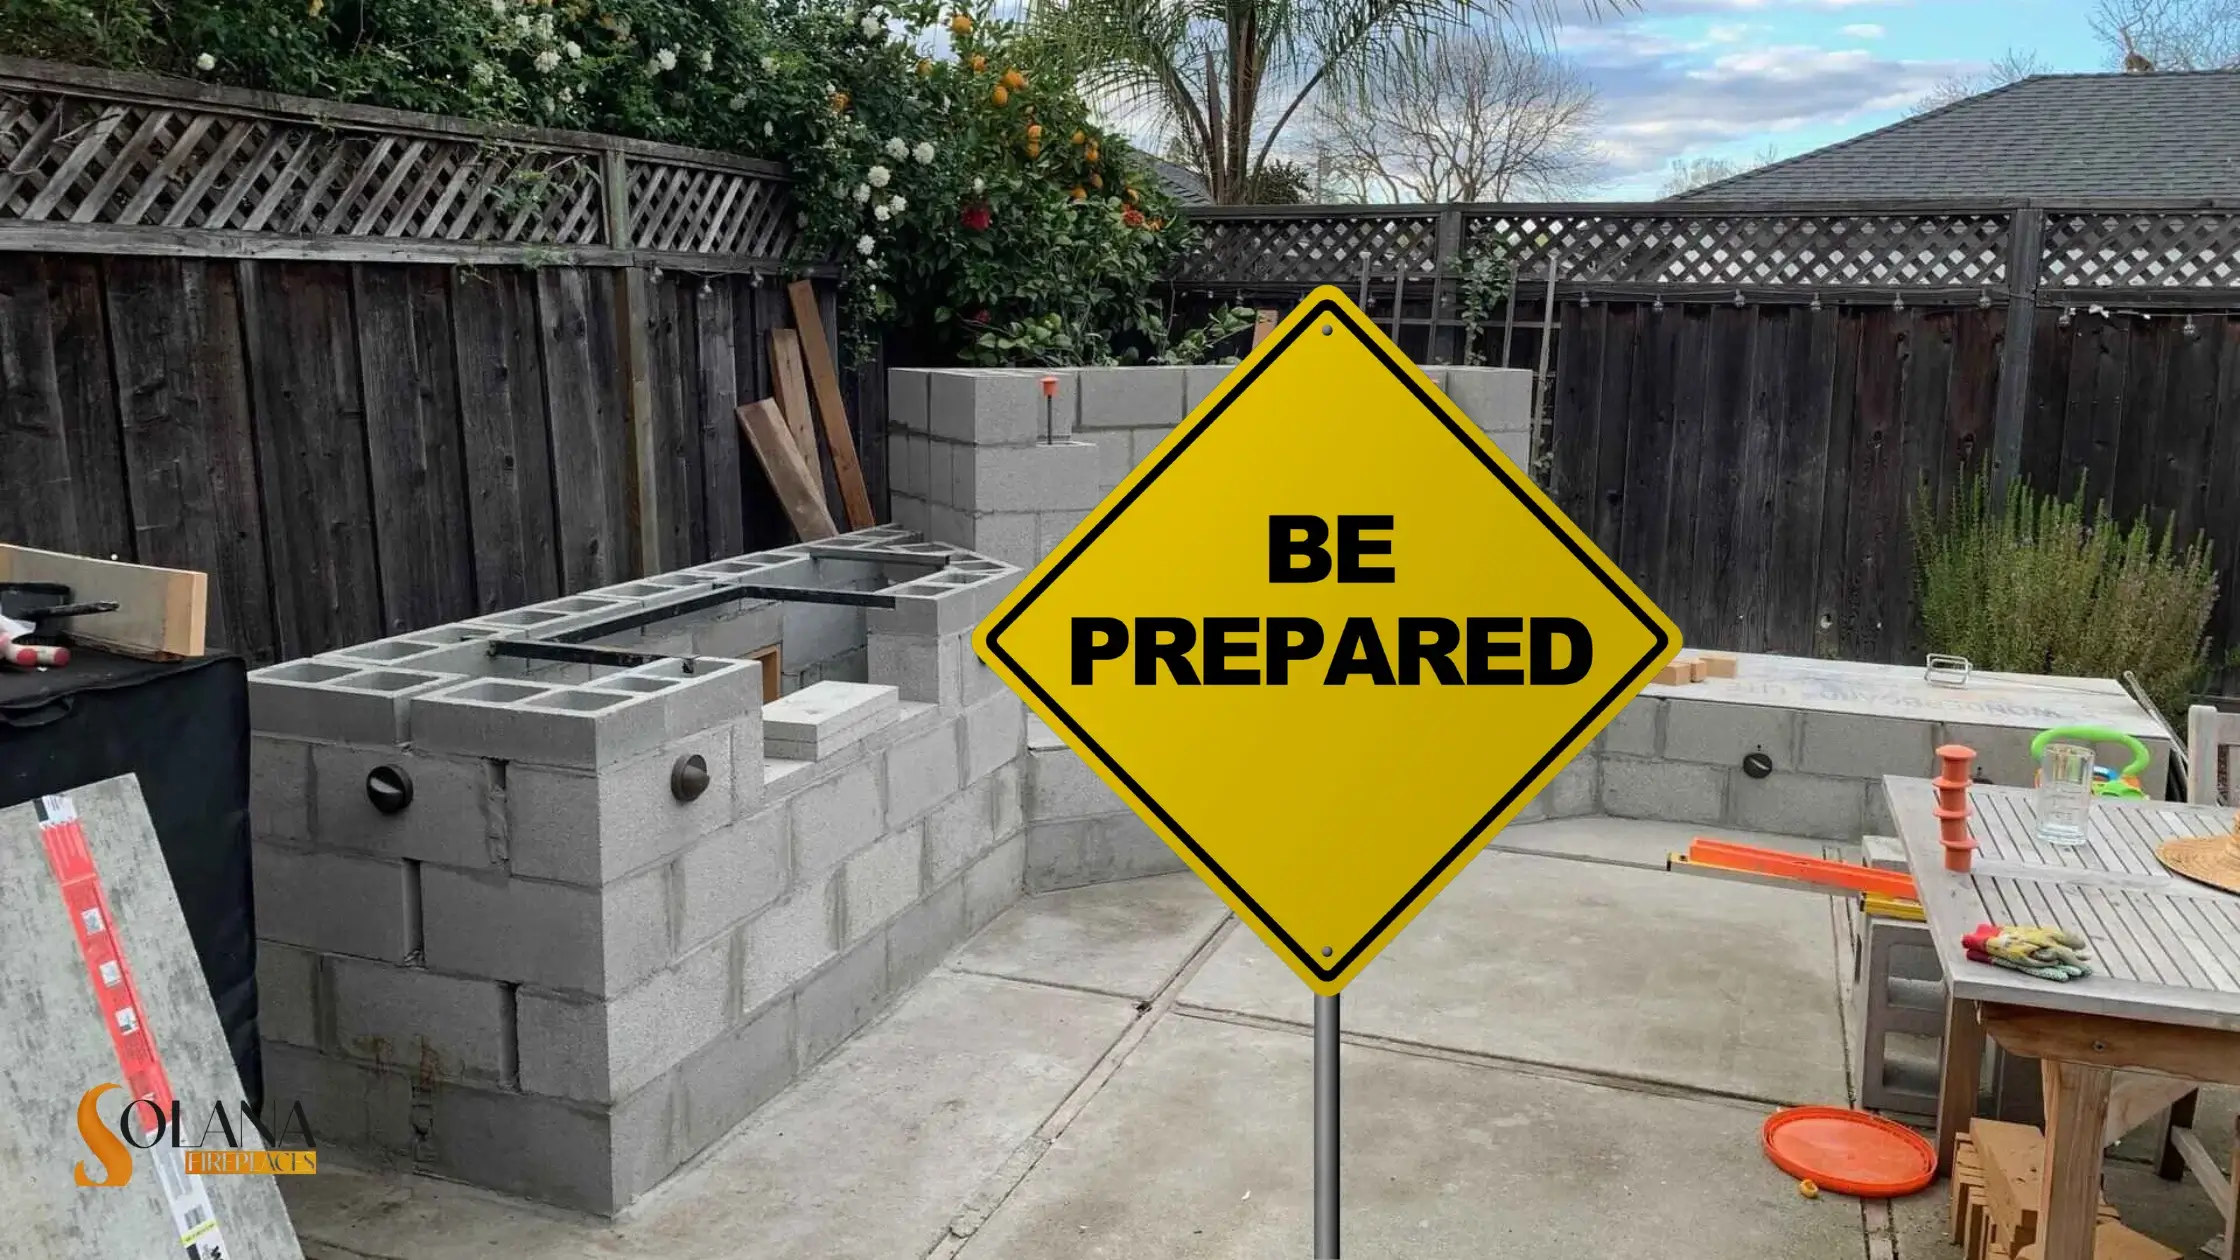
Step 1: Preparing the Site for Installation
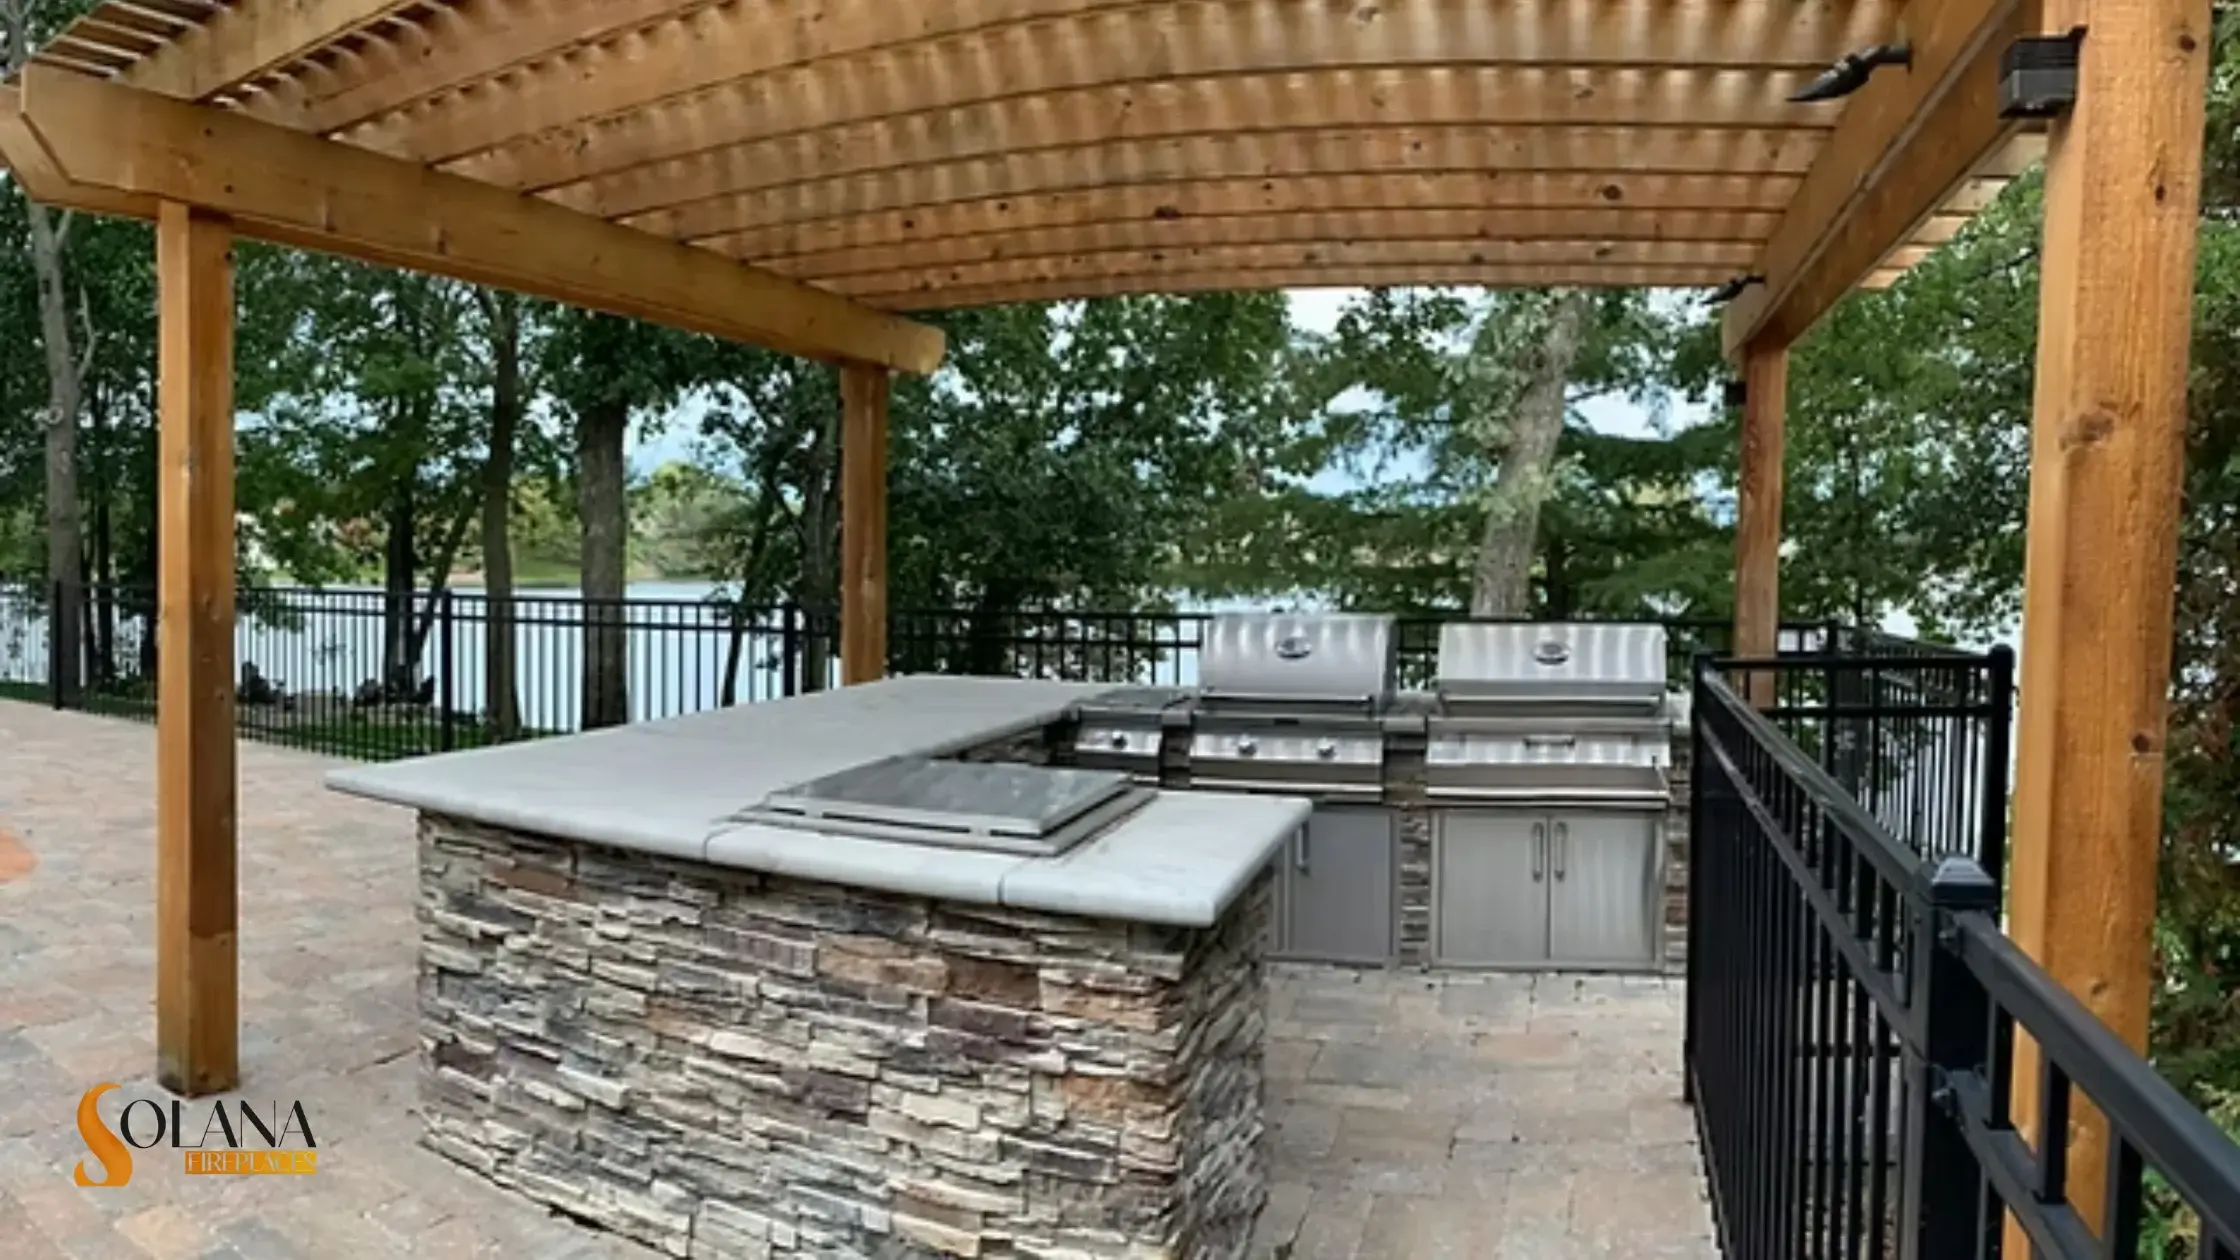
Before starting, selecting the right location and ensuring a stable foundation is essential for a long-lasting outdoor kitchen.
A. Choosing the Best Location
The placement of your outdoor kitchen island can impact both functionality and safety.
Here’s what to consider:
- Pick a stable, level surface that can support the weight of appliances and countertops.
- Maintain a safe distance from combustible materials like wooden fences or decks.
- Consider sun exposure, wind direction, and proximity to your indoor kitchen for convenience.
- Ensure there’s enough space for seating, storage, and movement.
B. Checking Local Codes and Permits
Before installing gas lines, electrical connections, or plumbing, check your local building codes and HOA regulations:
- Research zoning laws to ensure compliance.
- Obtain permits for gas, plumbing, and electrical installations.
- Follow fire safety codes when placing grills and heat-generating appliances.
C. Laying a Solid Foundation
A sturdy foundation prevents shifting and uneven settling over time.
- Concrete pads or paver bases provide excellent support and longevity.
- Avoid placing your kitchen island directly on grass or soil, as it may lead to instability.
- Make sure the site has adequate drainage to prevent water buildup, which can cause structural damage and reduce the longevity of your outdoor kitchen.
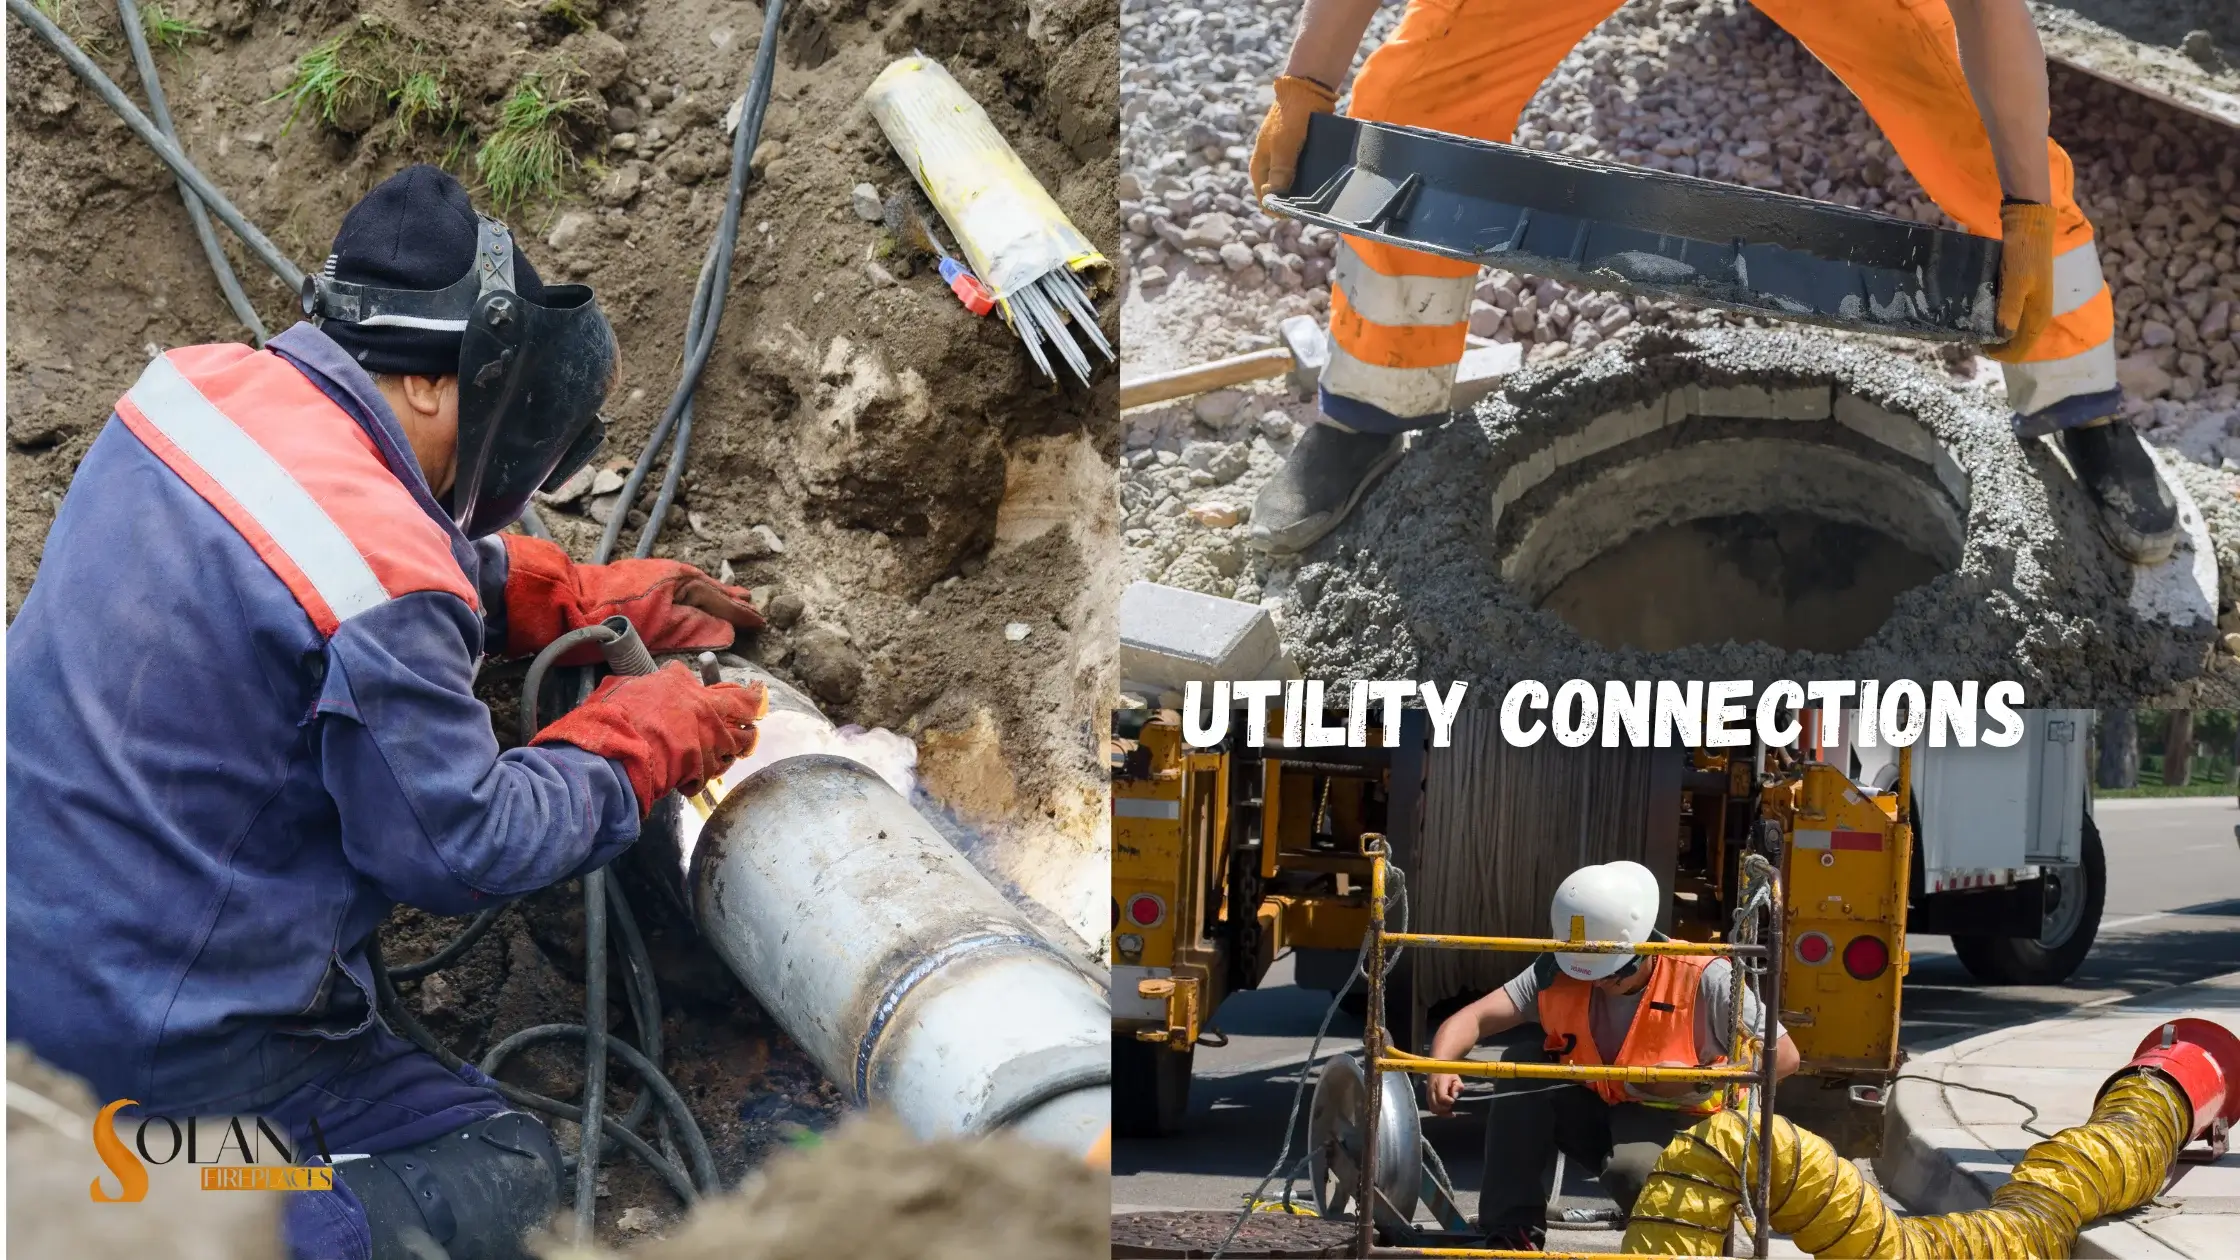
Step 2: Installing Utility Connections
For a fully functional outdoor kitchen island installation, proper utility connections are a must.
While some DIY enthusiasts may attempt it, hiring professionals for gas, plumbing, and electrical work is highly recommended for safety and compliance.
A. Gas Line Installation for Grills and Burners
A built-in grill, side burner, or pizza oven requires a reliable gas connection:
- Determine if you’ll use natural gas or propane.
- Hire a licensed plumber to install and test gas lines for leaks.
- Install ventilation panels near gas appliances to prevent dangerous buildup.
B. Plumbing for an Outdoor Kitchen
If your kitchen includes a sink, running water lines is essential:
- Use weather-resistant pipes to withstand outdoor conditions.
- Protect plumbing against freezing temperatures with insulation.
- Connect wastewater to a greywater system or drainage setup to prevent standing water.
C. Electrical Setup for Outdoor Appliances
Outdoor refrigerators, lighting, and electric grills require a safe and efficient power supply:
- Use GFCI-protected outlets to prevent electrical hazards.
- Install waterproof electrical conduits for long-term durability.
- Position task lighting above cooking and prep areas for nighttime visibility.
Step 3: Ventilation and Weatherproofing
Ensuring proper airflow and weather protection is essential for the longevity of your outdoor kitchen.
A. Meeting Ventilation Requirements
Gas appliances produce fumes that need proper ventilation.
- Install ventilation panels on opposite sides of the kitchen island for cross-ventilation.
- Use an outdoor range hood to remove smoke and grease.
- Keep heat-producing appliances spaced apart from enclosed structures.
B. Weatherproofing Your Outdoor Kitchen
Exposure to sun, rain, and temperature fluctuations can impact your kitchen’s durability.
- Choose stainless steel, stone, or concrete for cabinetry and countertops to resist rust and decay.
- Use weatherproof electrical components to prevent damage from moisture.
- Install a pergola, awning, or roof extension to shield your kitchen from the elements.

Step 4: Assembling and Finalizing Your Outdoor Kitchen
Once the foundation and utilities are in place, it’s time to install the major components of your DIY outdoor kitchen.
A. Installing Countertops and Appliances
- Secure countertops with brackets and screws to prevent shifting.
- Follow manufacturer guidelines when installing built-in grills, sinks, refrigerators, and storage units.
- Test gas, plumbing, and electrical connections before first use.
B. Adding Aesthetic Enhancements
Enhance the look and functionality of your outdoor kitchen:
- Add a tile backsplash or stone veneer for a polished finish.
- Incorporate bar seating, a fire pit, or an outdoor dining area to create a welcoming entertainment space.
- Use LED or solar-powered lighting to enhance ambiance and energy efficiency.
Step 5: Additional Considerations for a Functional Outdoor Kitchen
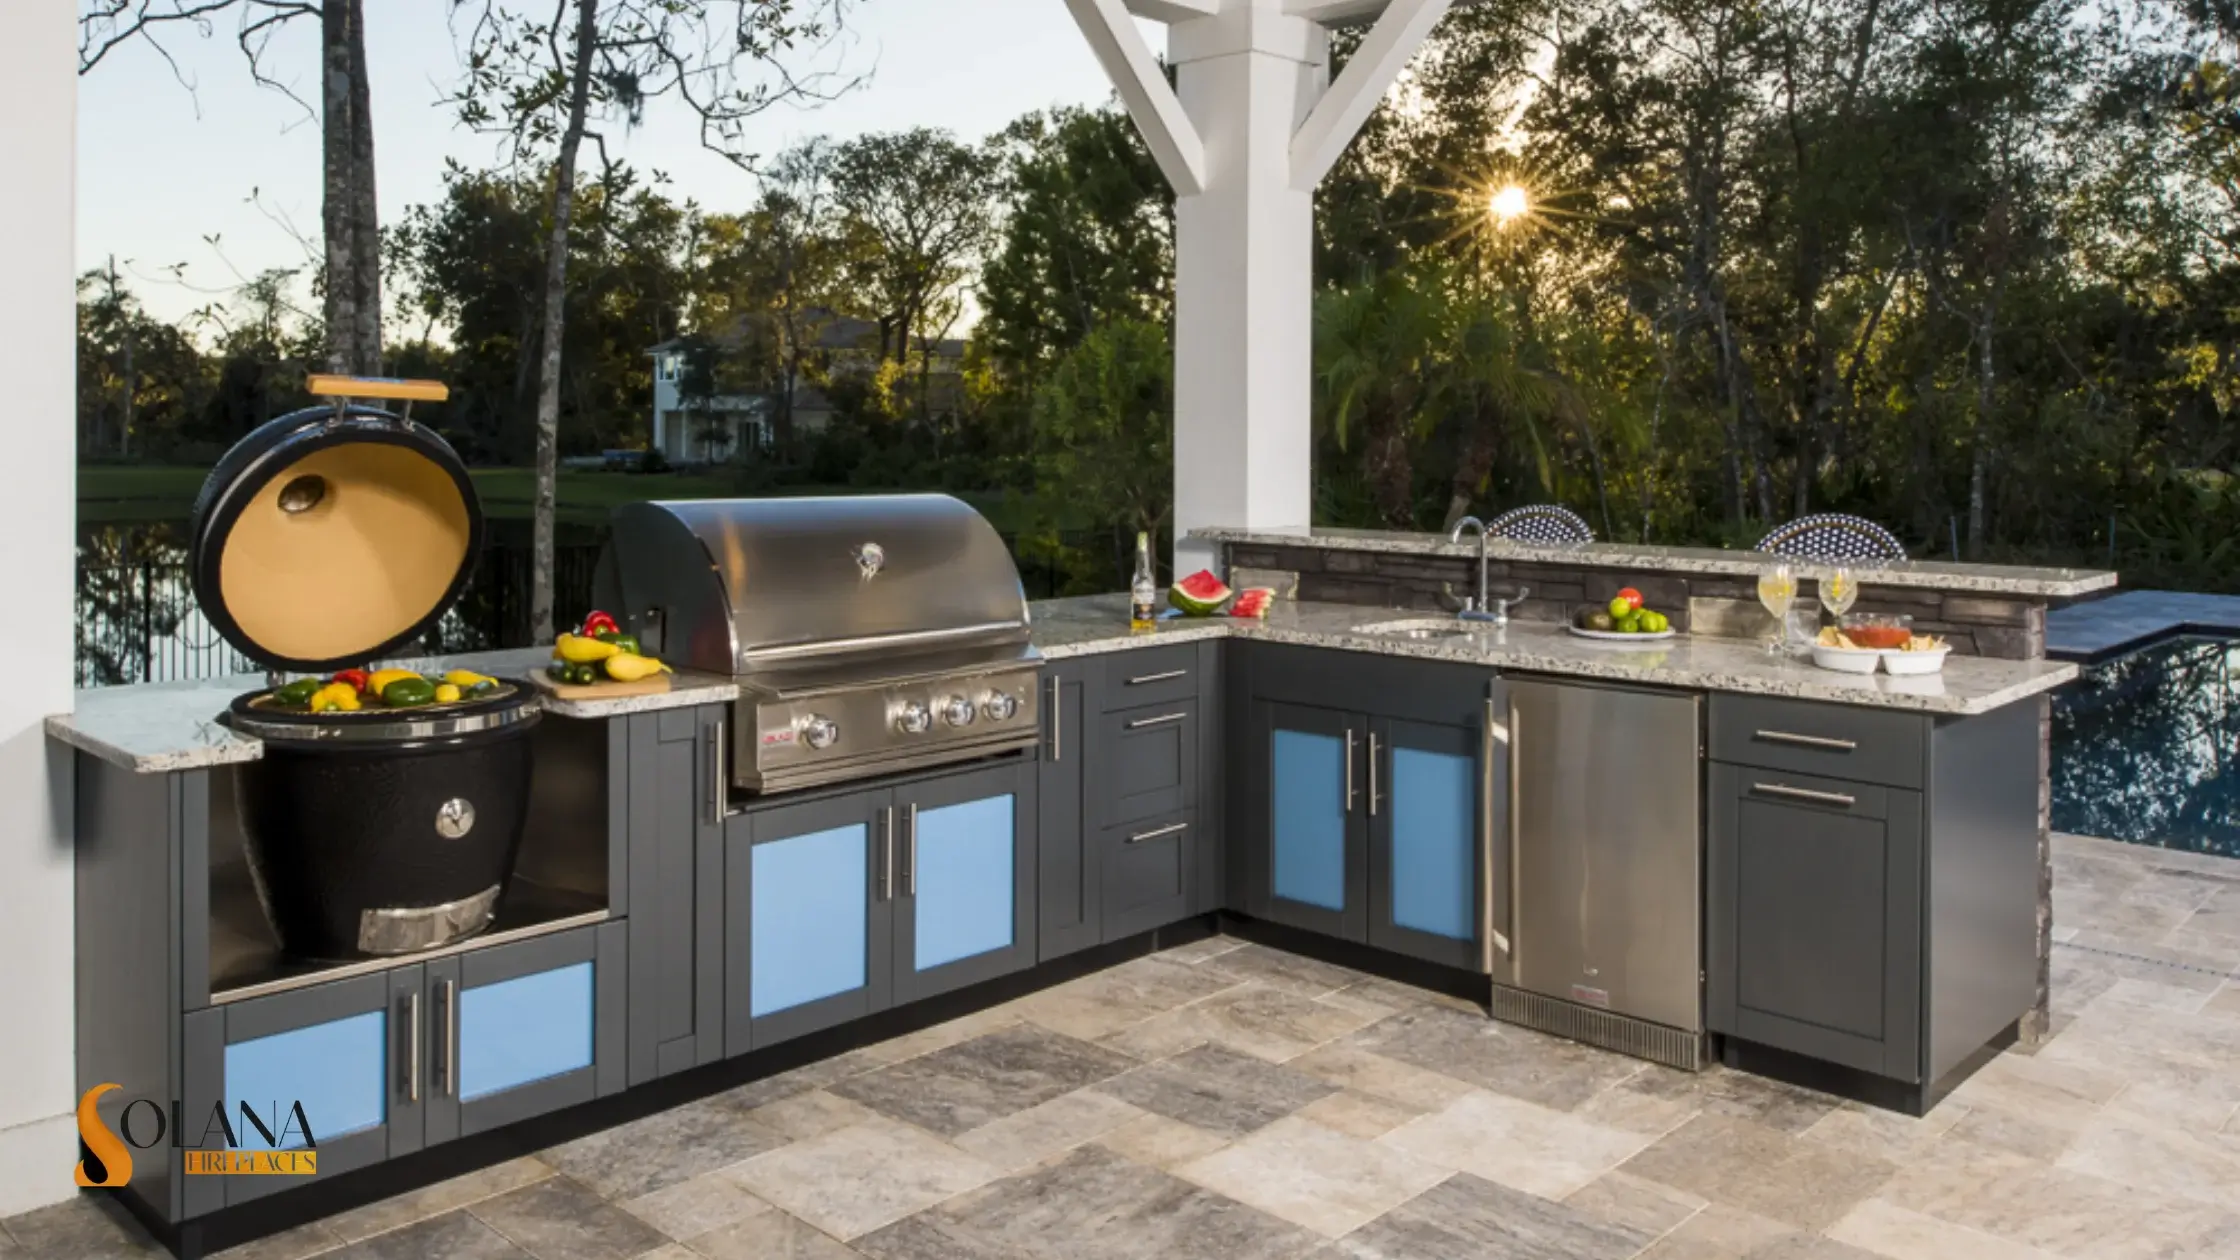
A. Choosing the Right Outdoor Kitchen Layout
The layout should optimize efficiency while providing a smooth workflow.
Popular designs include:
- L-Shaped: Offers ample counter space and a natural cooking zone.
- U-Shaped: Maximizes prep space and storage.
- Straight-Line: Ideal for smaller spaces and easy accessibility.
B. Flooring and Surface Options
Choose materials that are durable, slip-resistant, and heat-resistant:
- Concrete, stone, or slip-resistant tiles ensure safety.
- Avoid surfaces that retain excessive heat, making them uncomfortable during summer.
- Seal stone and wood surfaces to protect them from moisture and stains.
C. Outdoor Kitchen Lighting Solutions
Proper lighting enhances both safety and ambiance:
- Use task lighting over grills and prep areas.
- Install ambient lighting, such as string lights or wall sconces, for a warm atmosphere.
- Opt for motion-sensor or solar-powered lights for energy efficiency.
D. Expanding Your Outdoor Kitchen with Extra Features
To enhance usability, consider adding:
- Storage Solutions: Weatherproof cabinets for storing utensils, plates, and grilling accessories.
- Climate Control: Ceiling fans or misting systems for hot weather; patio heaters or fire pits for cold weather.
- Smart Technology: Wi-Fi-enabled grills, Bluetooth temperature monitors, and outdoor sound systems for a modern touch.
E. Fire Safety Precautions
Since outdoor kitchens involve open flames and electrical components, safety is a priority:
- Keep a fire extinguisher nearby.
- Use non-combustible materials for surrounding surfaces.
- Maintain adequate spacing between heat-producing appliances and flammable items.
F. Seasonal Maintenance Tips
Regular maintenance ensures longevity and optimal performance:
- Inspect and clean gas lines, burners, and electrical connections before peak grilling season.
- Cover appliances when not in use to protect against harsh weather.
- Reapply sealant to stone or wood surfaces periodically to maintain durability.
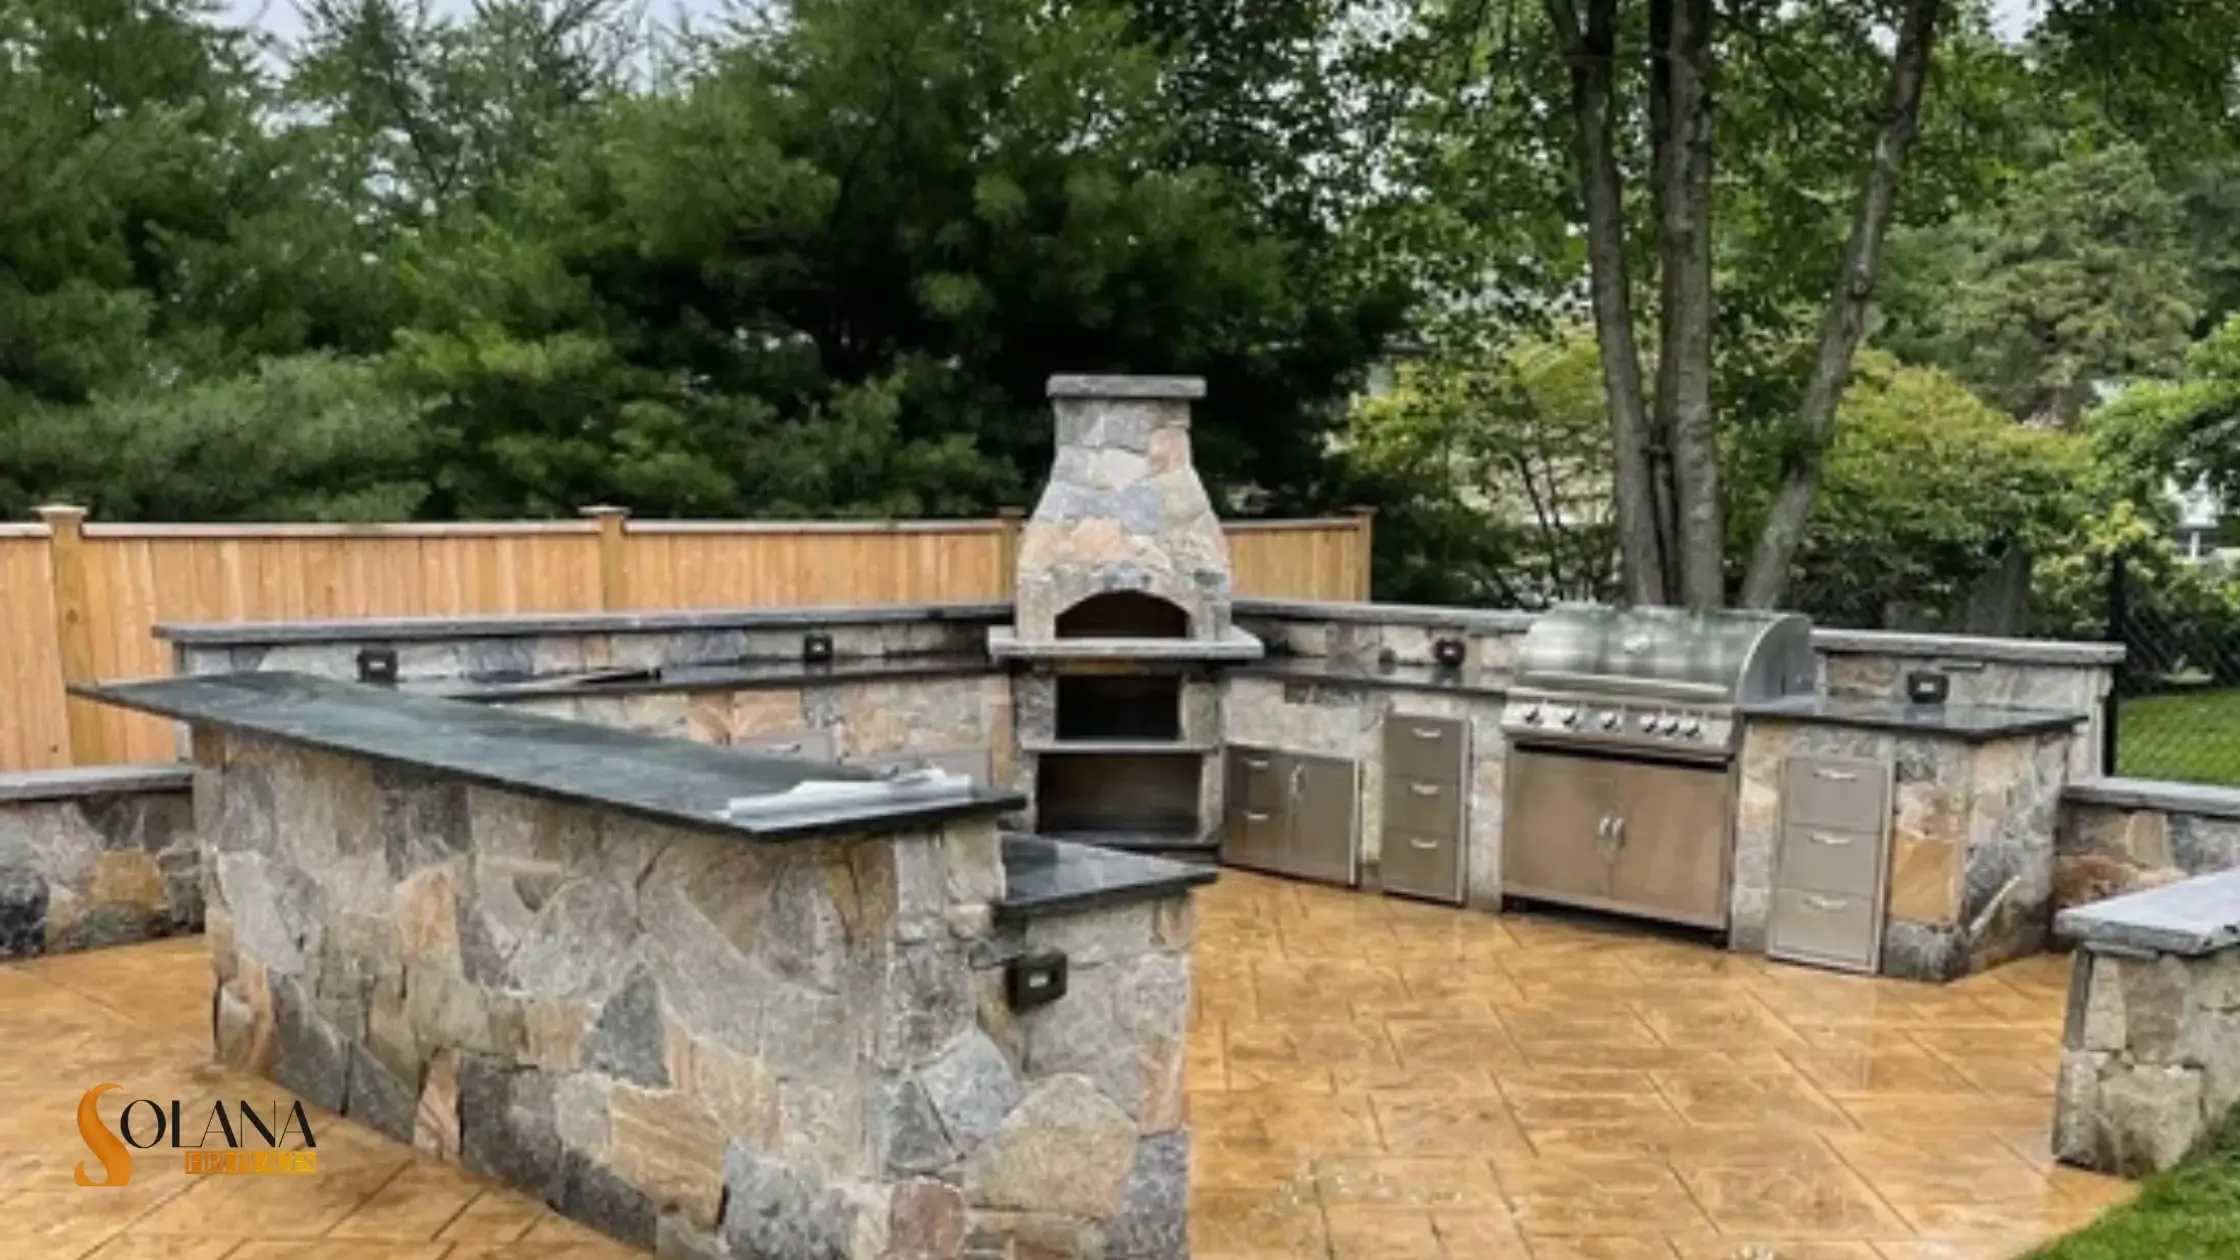
Best Materials for Outdoor Kitchens
Selecting the right materials is essential for a durable outdoor kitchen island installation.
- Stainless Steel: Resists corrosion and requires minimal maintenance.
- Concrete & Stone: Weather-resistant and visually appealing.
- Granite & Tile Countertops: Provide heat resistance and a premium finish.
Want to learn more about the best materials? Check out our in-depth guide here!

Final Thoughts
A well-planned outdoor kitchen island installation enhances your backyard, making it the ultimate destination for cooking and entertaining. If you prefer a DIY outdoor kitchen or professional installation, following these steps will ensure a safe, efficient, and long-lasting setup.
For the best results, equip your outdoor kitchen with high-quality appliances from Solana Fireplaces. We offer premium grills, outdoor refrigerators, and accessories to help you create the perfect outdoor space.
Call us today at (888) 575-9720 to explore our selection and get expert advice on how to install an outdoor kitchen!
Happy grilling!